











📧 How to Create Email Templates
Ascora lets you send emails from various parts of the system—such as Scheduler, Jobs, Quotes, Customers, Invoices, and Enquiries—to ensure that your communications are both consistent and professional. This guide explains how to configure your Email Templates so that your messages automatically include the right details, images, and signatures. By following these steps, you'll be able to build templates that streamline your workflow and enhance clarity in your communications.
📽 Watch the video guides ⤵
Email Templates - Jobs
Email Templates - Invoices
1. Go to Administration → Email Templates.
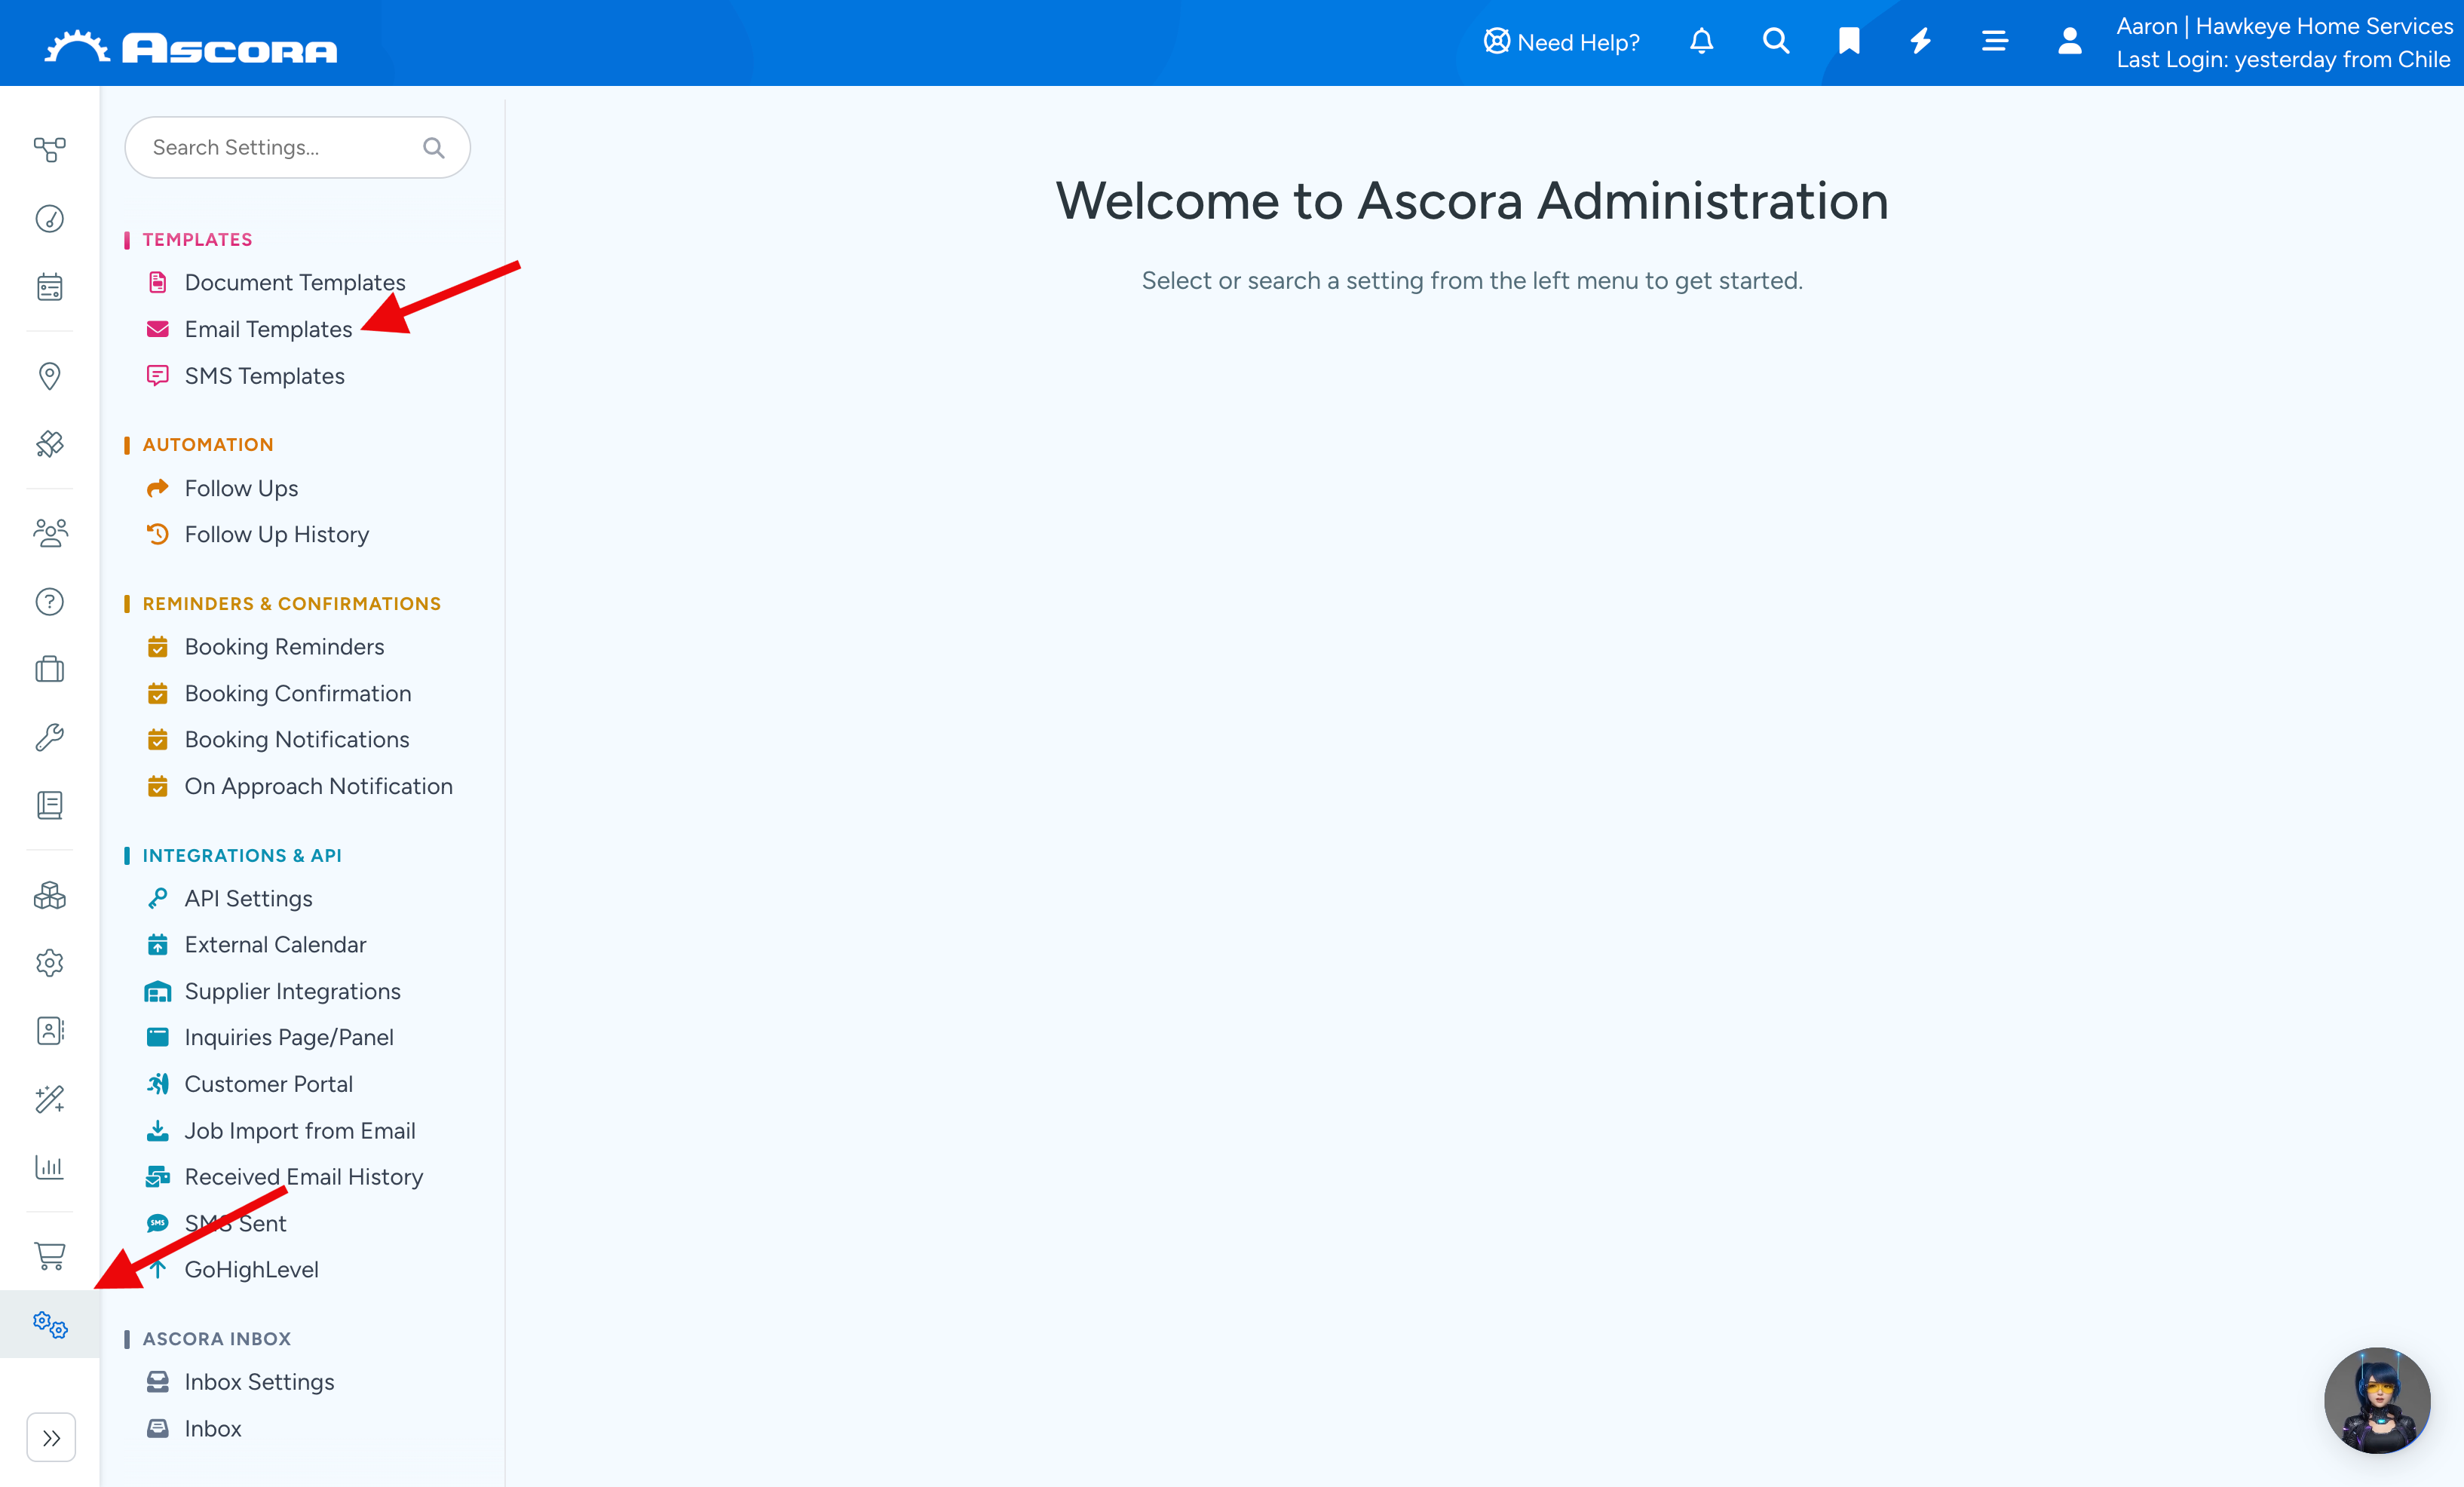
2. Enter a template name. In this example, we call it Job 1.
You can use dynamic fields by selecting "Insert Field".
Click Save to proceed.
Note: It is important that you do not manually type the Email Fields as they won't work that way. Always click "Insert Fields".
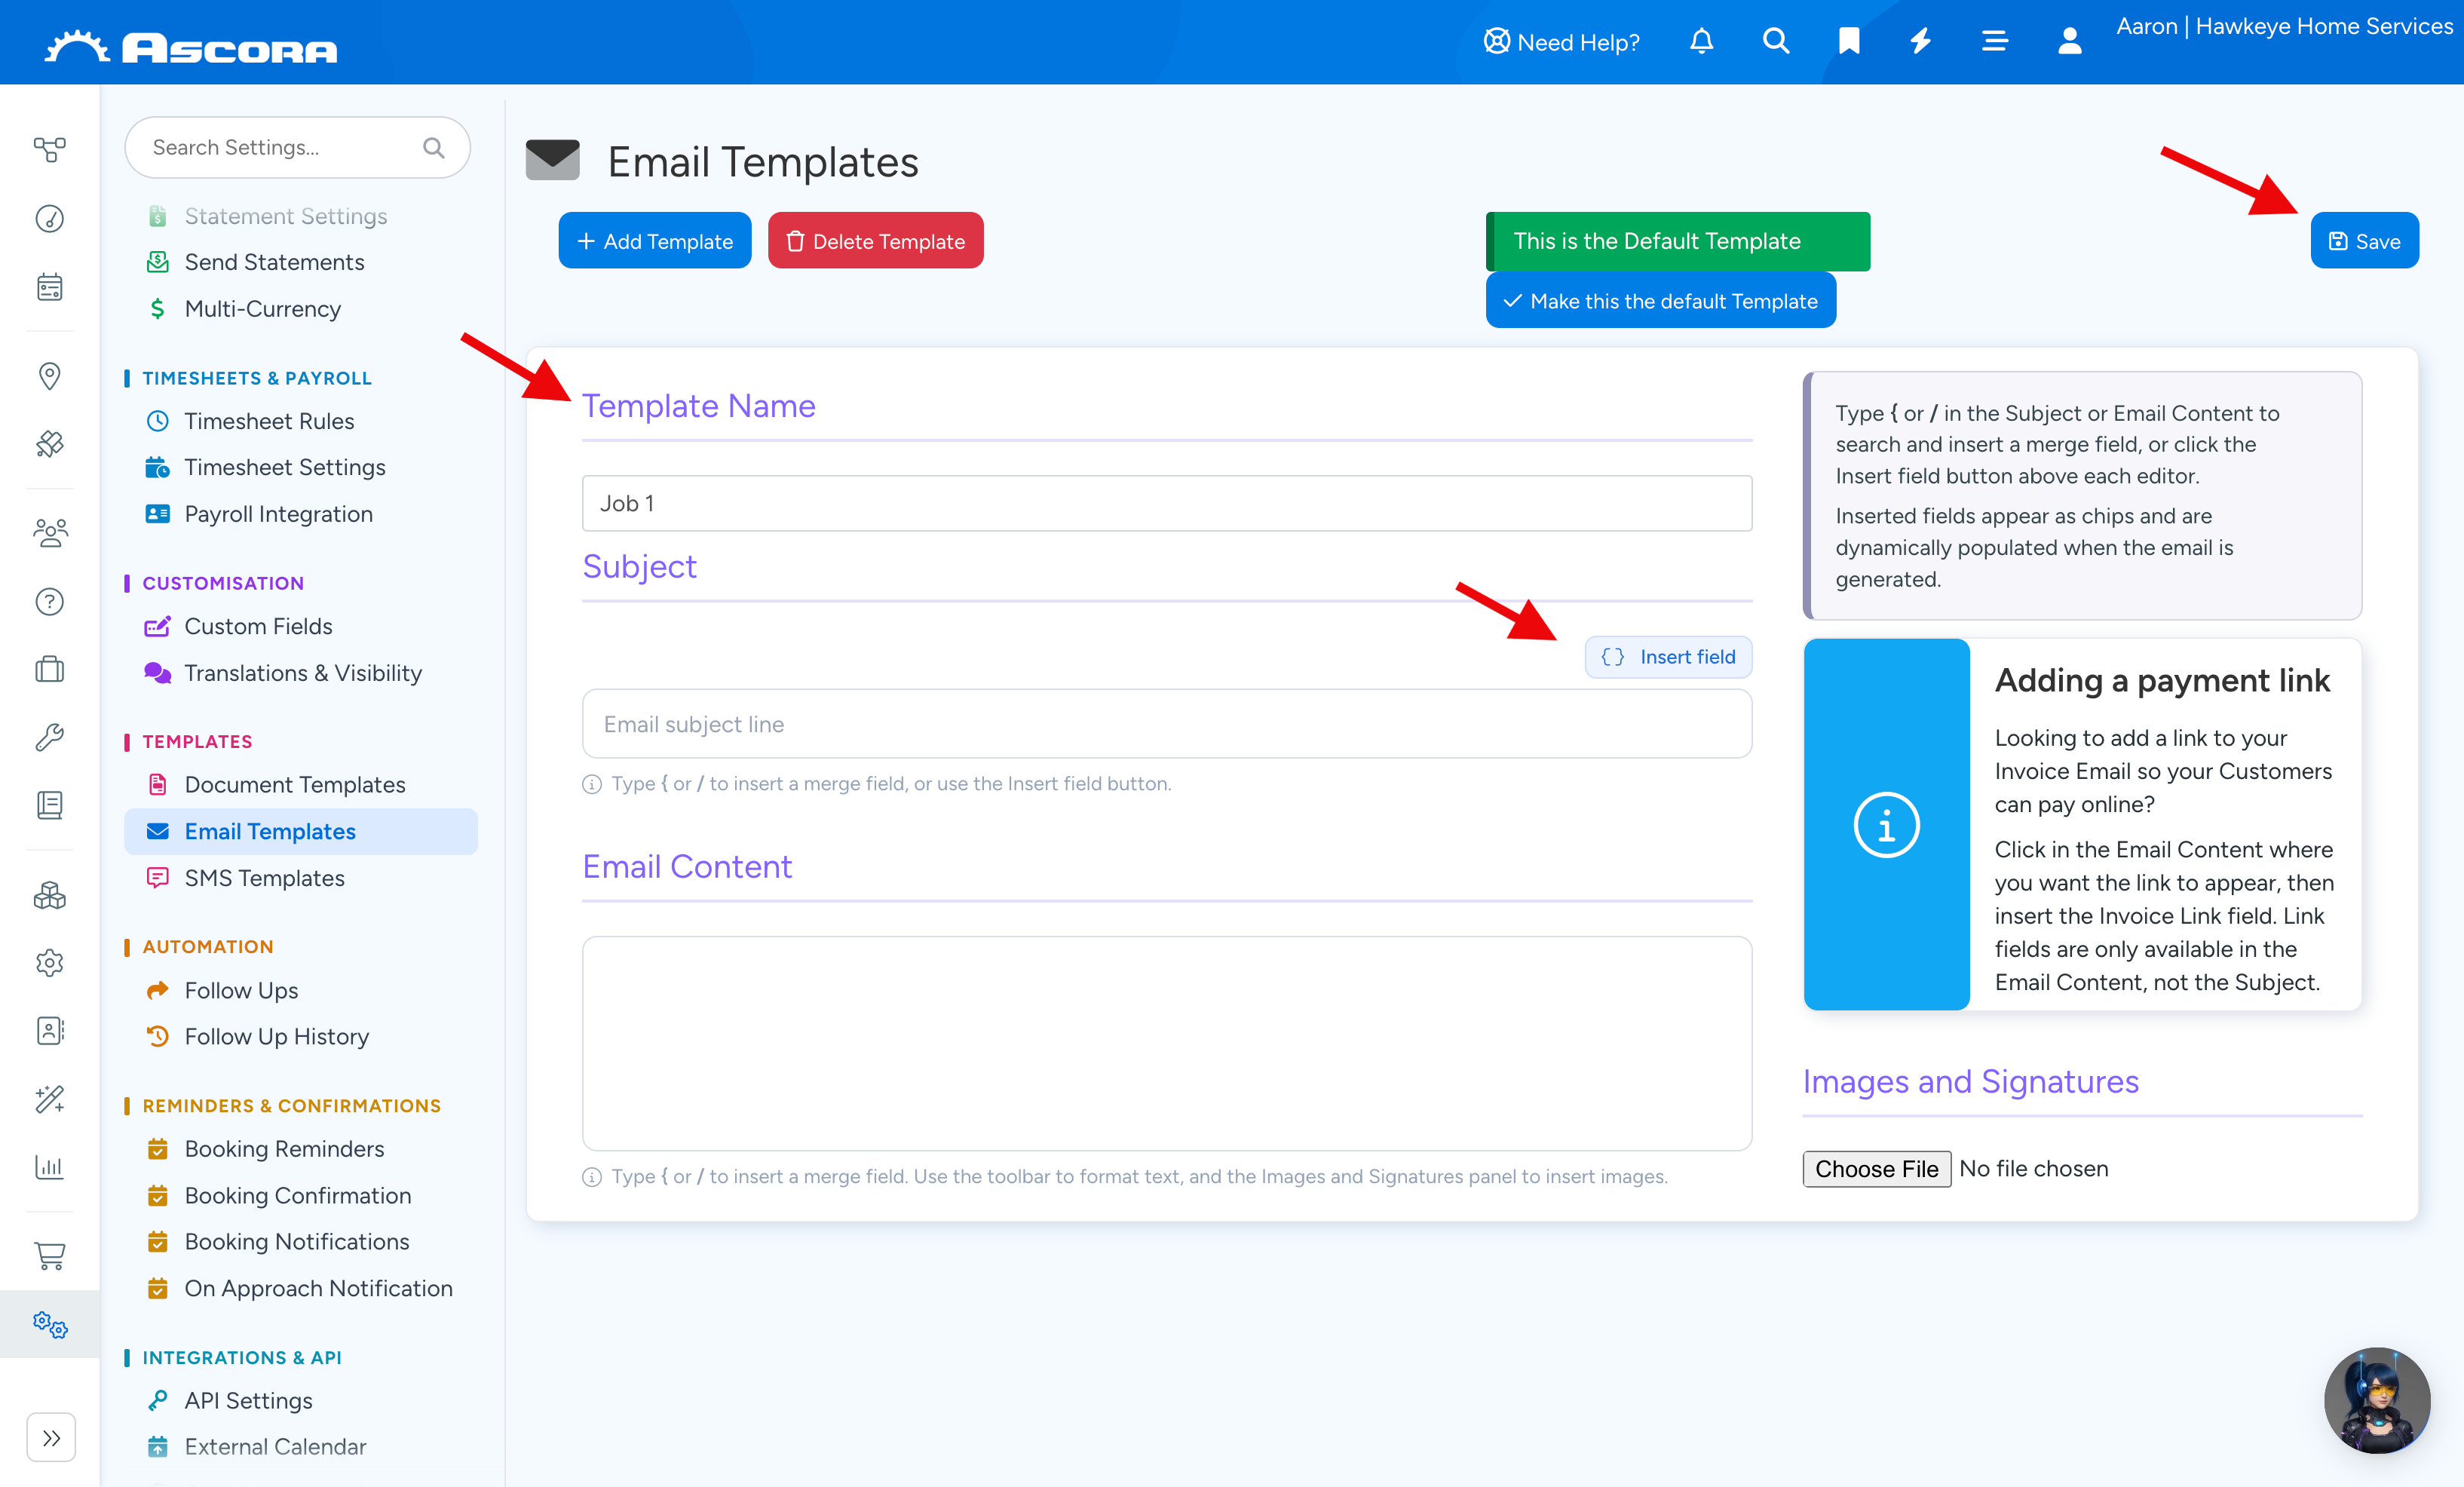
3. After building your Email template, you can start using it when you need to send an email whether from the Job screen, Quote screen, any other areas where email functionality is available.
In this example, we created a Job Confirmation email template and we can use it by opening a job, and then click Email Job.
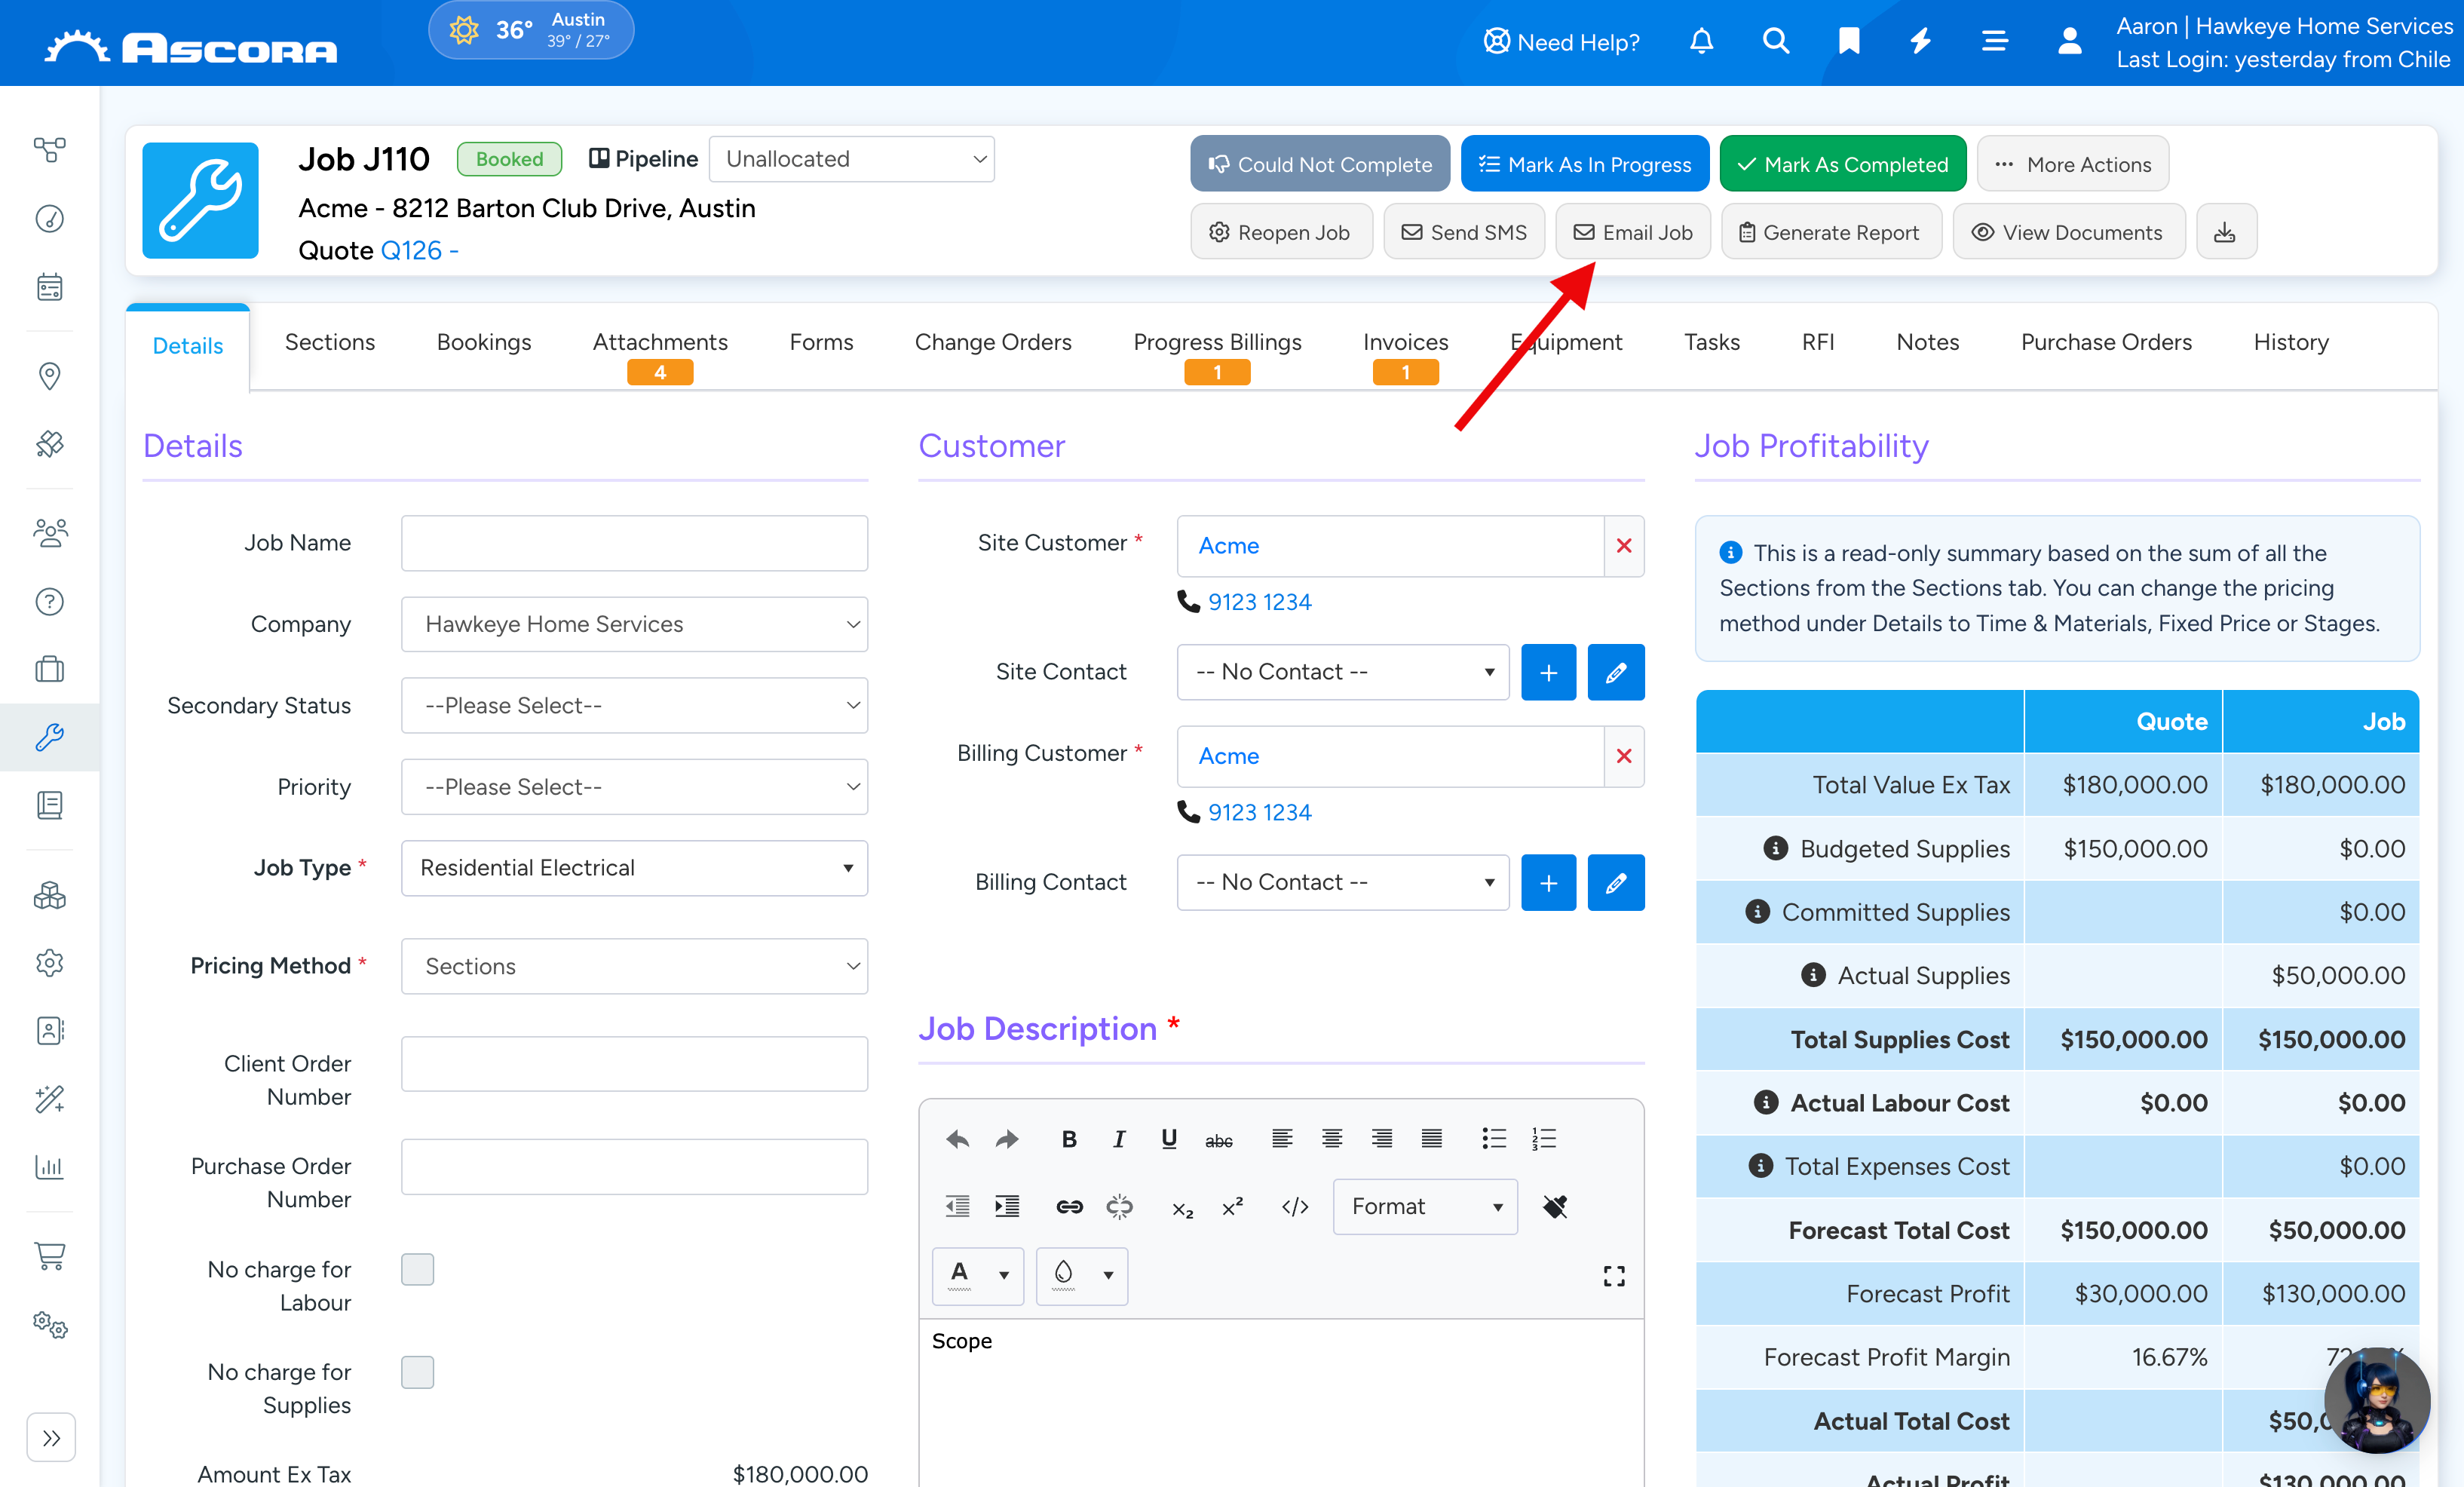
4. Select the template (in this example Job Confirmation) and the message should auto populate based on the template selected.
Tick the customer's email address and you have the option to add an additional recipient or carbon copy.
To proceed, click Send.
Note: You can repeat steps 2 - 3 to build your Email templates for the other areas such as Invoice, Enquiry, Customers, etc.
How to add Images and Signatures as well as Web Links
You can add Email Signatures that could be a mix of images and web links by following the steps below.
1. While in the Email Template screen, click Select Files located under Images and Signatures.
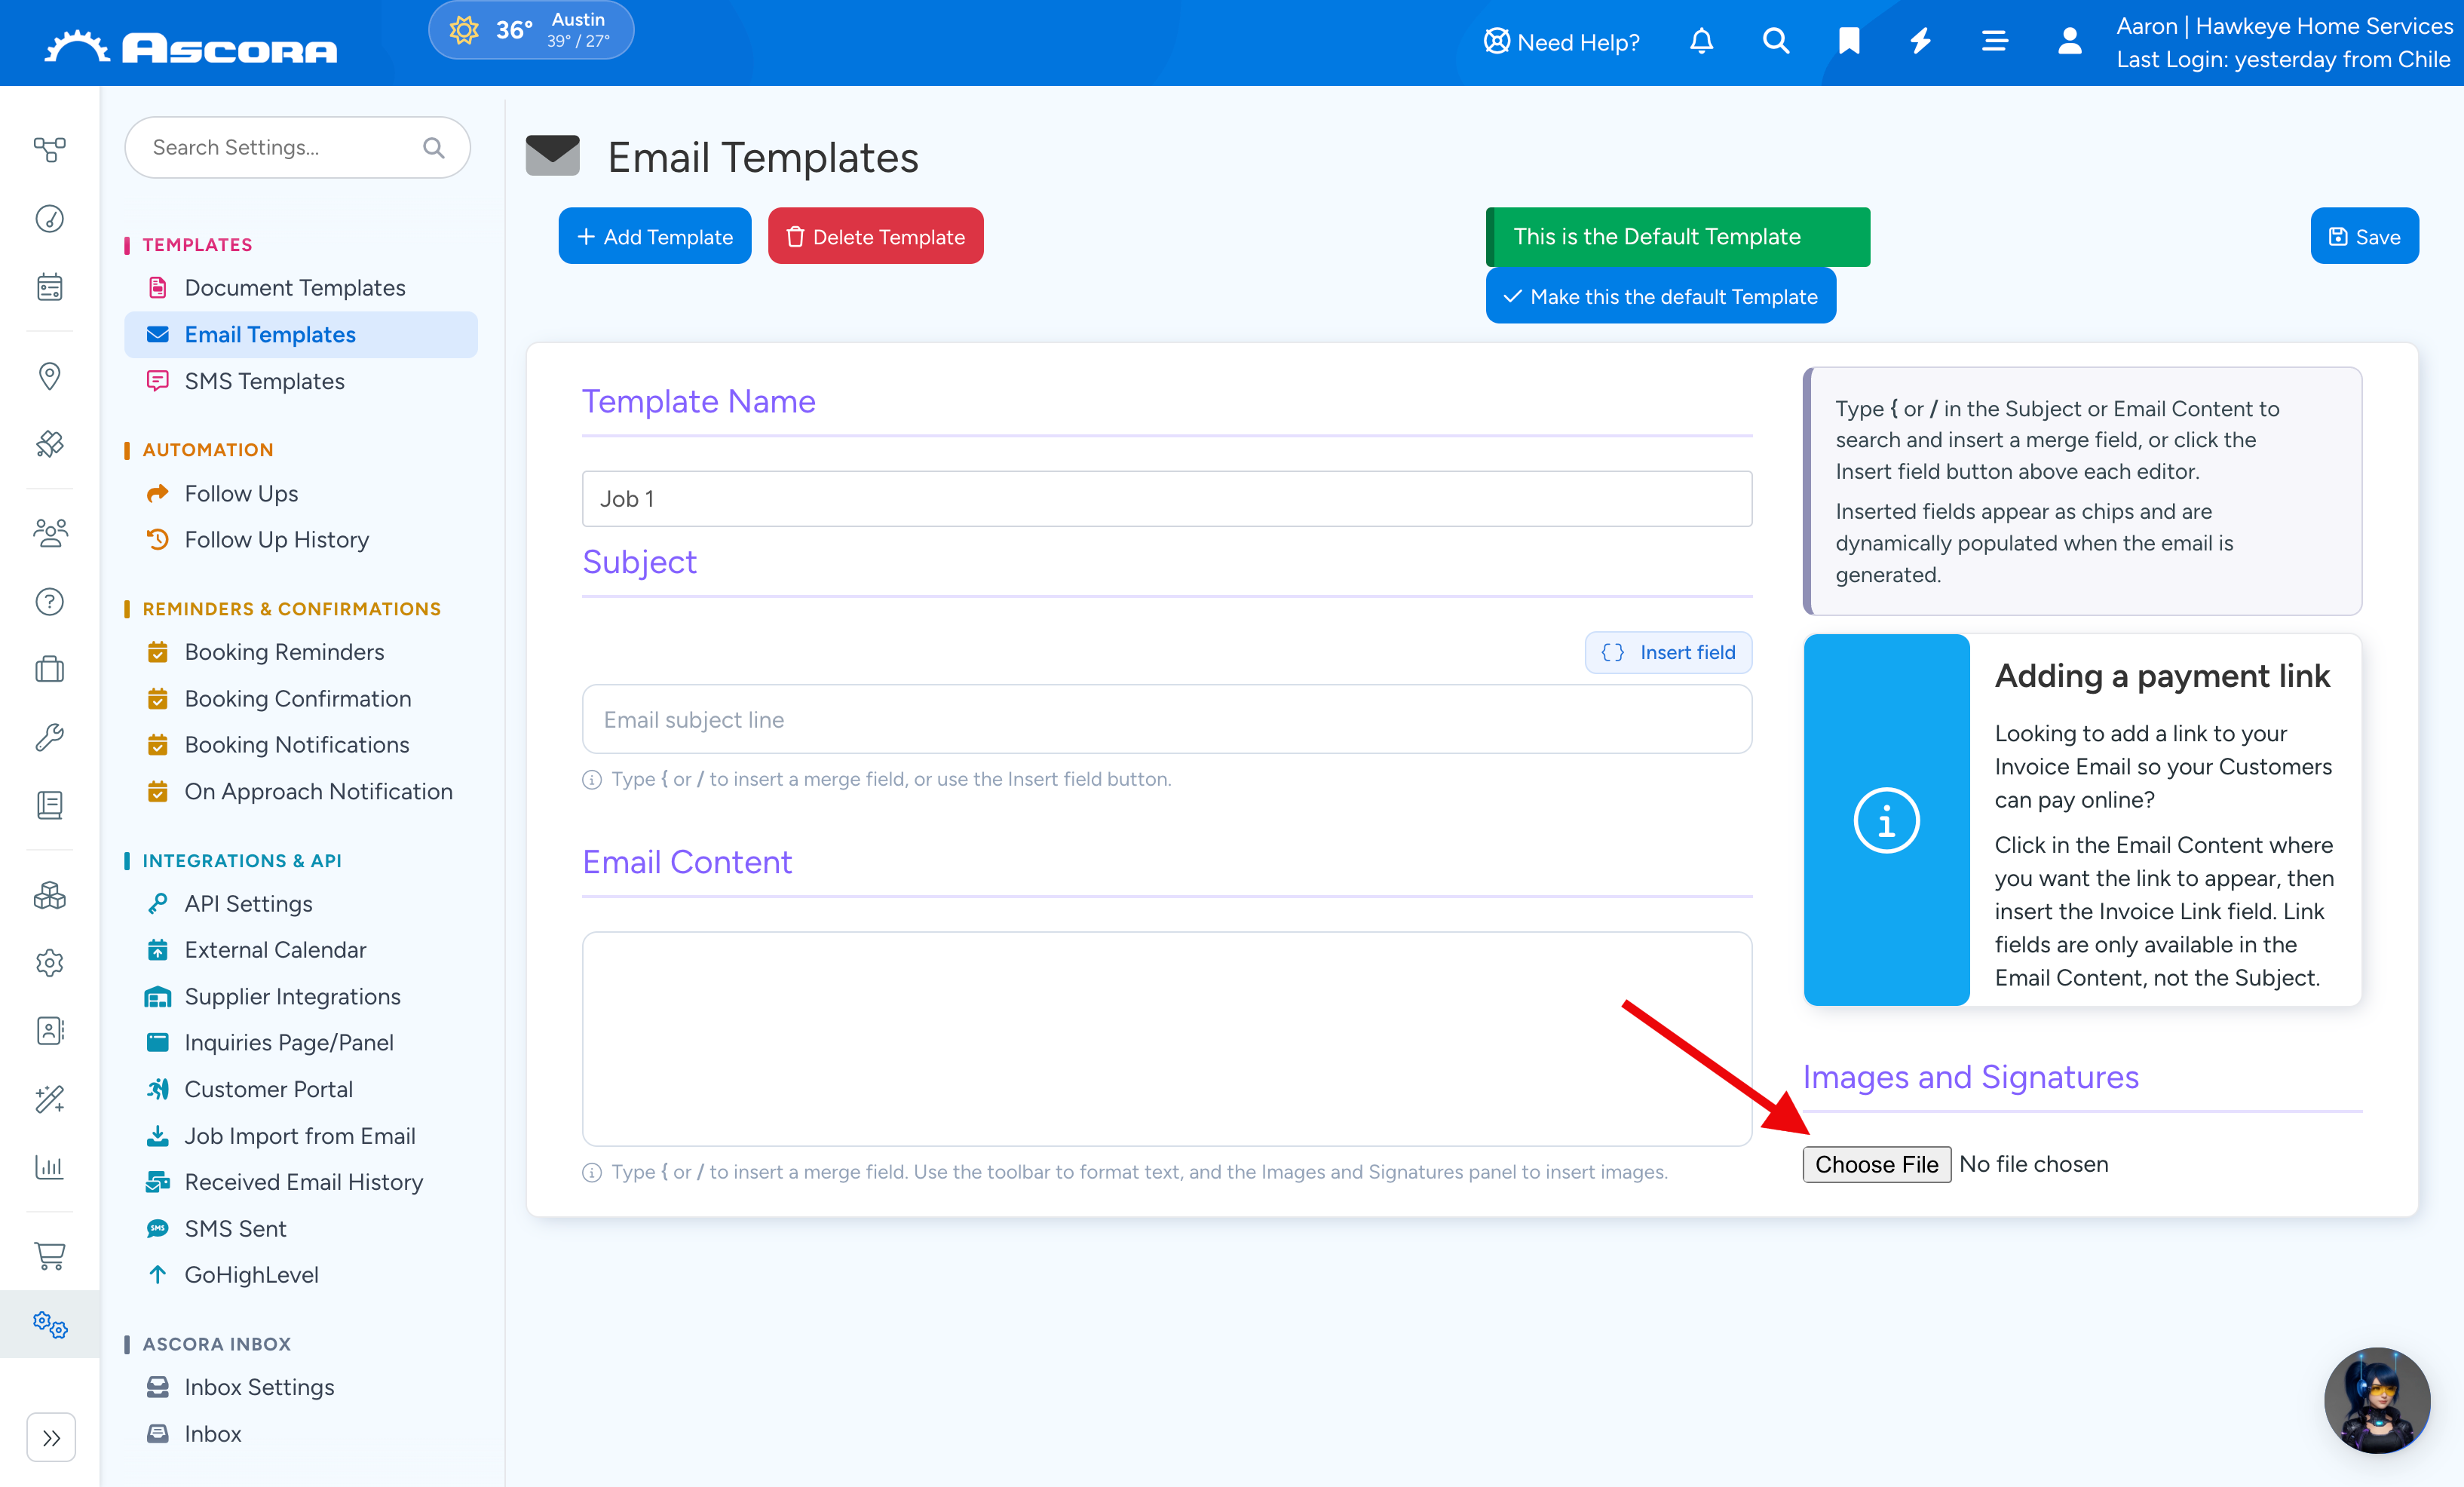
2. Select the image from your computer and in this example, we are adding the Ascora logo.

3. The image will appear inside the white box and you can add as many images as needed. If you need to replace an image or delete it, just hover the mouse cursor on top of it and click the Trash Bin icon to delete.
4. To insert the image in the Email Template, click the area where you want to place the image and click on the image you want to add then click Insert box.
Note: You have the option to adjust width and height by putting the corresponding numbers but it's best to save your image as the desired file size so you won't keep adjusting the size every time you add it to the email template.
5. You can also add your website URL or Facebook page by pasting the links in the Email Template.
6. Once you're happy with the changes, click Save.
Was this article helpful?
Contact support